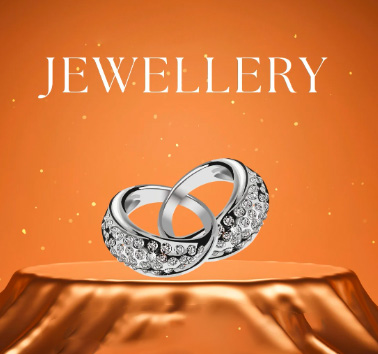
Editing jewelry photos to achieve a professional look requires attention to detail, color accuracy, and enhancing the intricate details of the pieces. Here’s a step-by-step guide to help you edit jewelry photos like a pro:

**1. Import and Organize:
Import your jewelry photos into your preferred photo editing software.
Organize them in folders for easy access.
**2. Color Correction and White Balance:
Adjust the white balance to ensure accurate colors.
Use color correction tools to eliminate color casts and make the jewelry’s metals and gems look true to life.
**3. Crop and Composition:
Crop the image to remove unnecessary elements and improve the composition.
Ensure the jewelry piece is the main focus and well-centered.
**4. Background Removal or Replacement:
If needed, carefully remove the background using tools like the Pen Tool or Magic Wand.
Replace the background with a clean, neutral color or a gradient to make the jewelry stand out.
**5. Focus Stacking (If Required):
If the jewelry has multiple layers or intricate details, consider focus stacking to ensure all parts are sharp and in focus.
**6. Enhance Details:
Use the Sharpening tool or Unsharp Mask to enhance the jewelry’s intricate details.
Be careful not to over-sharpen, as it can create unnatural artifacts.
**7. Adjust Exposure and Contrast:
Use curves, levels, or exposure adjustments to fine-tune the overall brightness and contrast.
Maintain the jewelry’s highlights and shadows while ensuring balanced exposure.
**8. Selective Adjustments:
Use adjustment layers or brushes to make selective edits to specific areas.
Brighten gems, enhance reflections, or adjust metal tones as needed.
**9. Remove Imperfections:
Use the Healing Brush or Clone Stamp tool to remove dust, scratches, and blemishes from the jewelry’s surface.
**10. Enhance Gems and Metals:
Use adjustment layers to enhance the color and brilliance of gems.
Use color grading techniques to bring out the luster and shine of metals.
**11. Add Sparkle (Optional):
If desired, create subtle sparkles on gems using brushes or overlays to simulate the play of light.
**12. Manage Reflections and Glare:
Carefully manage reflections and glare on metallic surfaces.
Use techniques like dodging and burning to balance highlights and shadows.
**13. Export and Save:
Save your edited image in the highest quality possible.
Export the image in the appropriate format for its intended use, such as JPEG for web or TIFF for print.
**14. Comparison and Final Touches:
Compare your edited image with the original to ensure it meets your goals.
Make any final adjustments to achieve the desired look.
**15. Consistency:
Maintain a consistent editing style across all jewelry photos for a cohesive and professional portfolio.
Remember, practice and attention to detail are essential when editing jewelry photos. It’s also a good idea to study professional jewelry photography and retouching techniques to further refine your skills.
