How to Transform Furniture Images into Luxury Masterpieces with Photoshop
Introduction: Creating luxurious furniture images using Photoshop is a skill that can elevate your photography and editing game. In this guide, we’ll walk you through a step-by-step process to turn ordinary furniture photos into stunning, high-end pieces that exude elegance and style. Let’s dive in and discover the magic of transforming furniture images into luxury masterpieces.
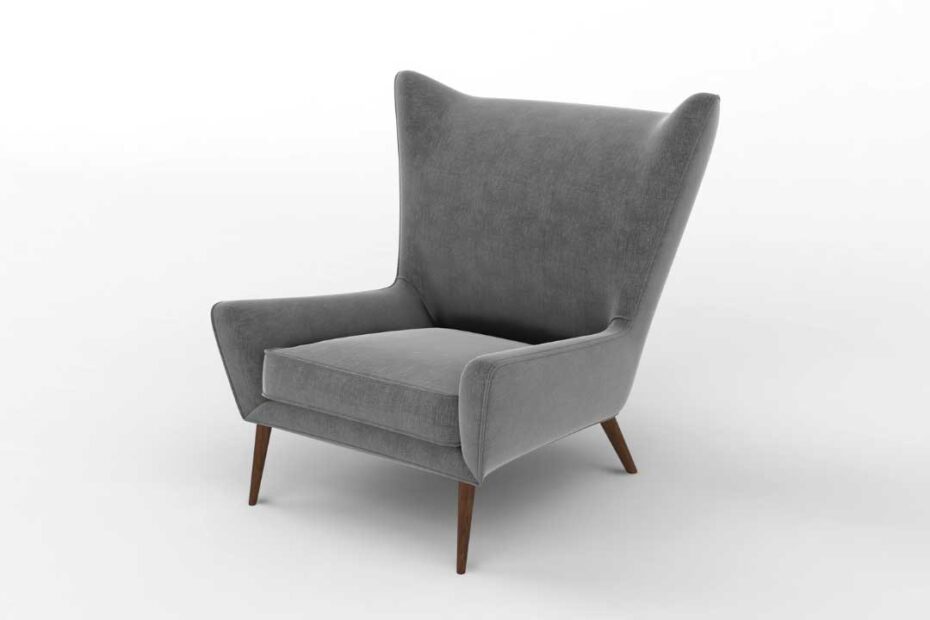
Step 1: Image Preparation Start by selecting a high-resolution image of the furniture. Ensure that the lighting is even, and the background is clutter-free. This forms the foundation for creating a luxurious look.
Step 2: Color Enhancement
Open the image in Photoshop and create a duplicate layer. Use the “Curves” adjustment layer to adjust the color tones. Create an S-curve to enhance contrast and make colors pop. Apply selective color adjustments to refine specific color ranges, such as deepening the wood tones or enriching metallic accents. Step 3: Background Refinement
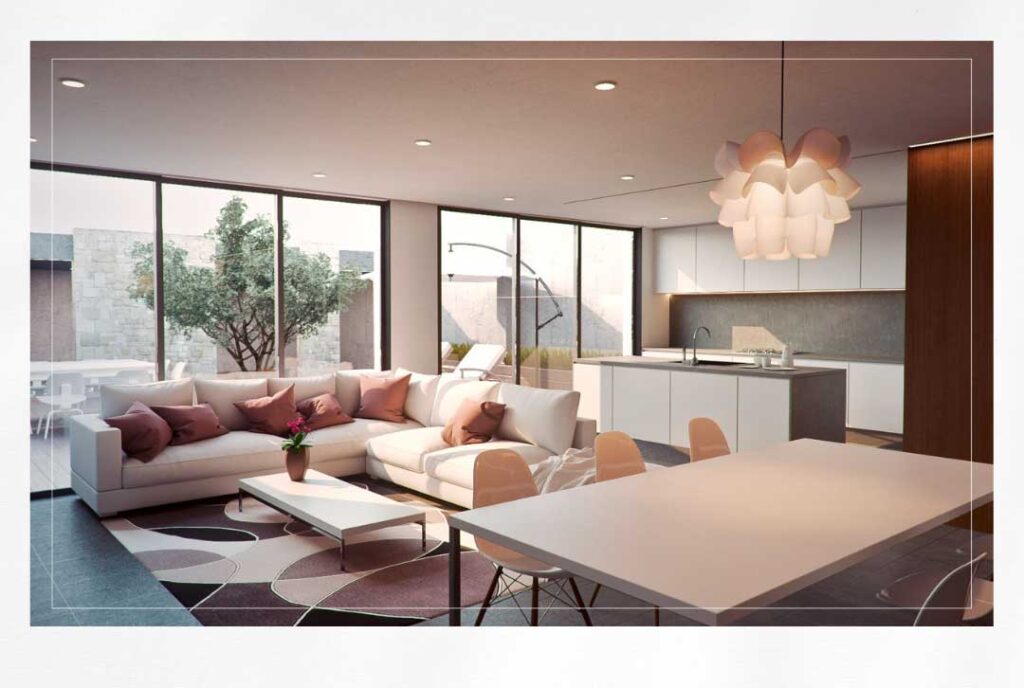
If the background isn’t suitable for a luxury vibe, consider using the “Pen Tool” to create a precise path around the furniture. Once the path is complete, right-click and select “Layer via Copy” to create a separate layer for the furniture. Apply a Gaussian Blur to the original background layer to create a soft, dreamy atmosphere. Step 4: Adding Depth and Texture
Duplicate the furniture layer and set the blending mode to “Overlay.” Apply a subtle texture overlay to add depth and tactile richness to the furniture. Adjust the opacity of the overlay layer to achieve the desired effect.
Step 5: Highlights and Shadows
Create a new layer and set the blending mode to “Soft Light.” Use a soft brush with a low opacity to paint white over the highlights and black over the shadows, enhancing the furniture’s three-dimensionality. Step 6: Glamorous Details
Zoom in and use the “Clone Stamp” tool to remove imperfections and distractions. Add a touch of luxury by carefully enhancing details like intricate patterns, stitching, or hardware using the “Dodge” and “Burn” tools. Step 7: Color Grading
Create a new adjustment layer for “Color Lookup.” Experiment with various presets to achieve the desired color mood. Warm golds, deep blues, or elegant greyscale can all contribute to a luxury aesthetic. Step 8: Final Touches
Create a merged copy of all layers by pressing Shift+Ctrl+Alt+E (Shift+Cmd+Opt+E on Mac). Apply a subtle vignette using the “Elliptical Marquee” tool and feather the selection. Add a final adjustment layer for “Sharpening” to enhance details.
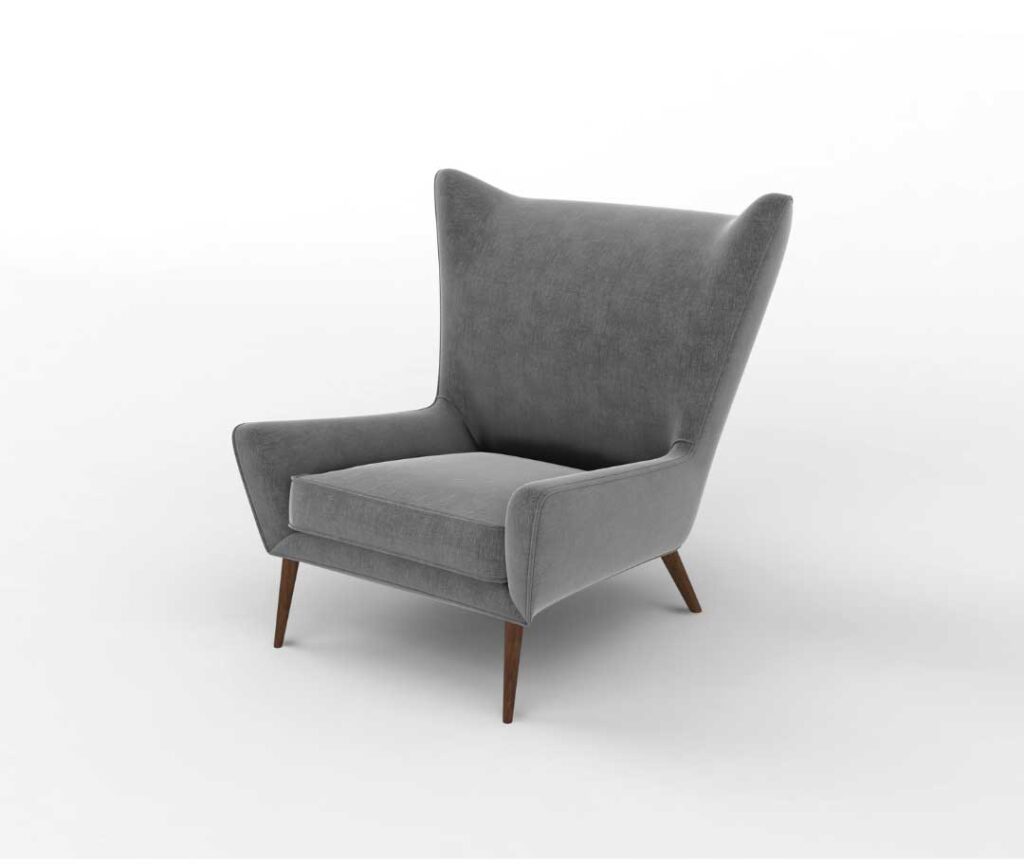
Conclusion: With the power of Photoshop, you can transform any furniture image into a luxury masterpiece that captures attention and resonates with sophistication. Through careful color adjustments, background refinement, texture additions, and meticulous attention to details, you’ll achieve a result that reflects opulence and elegance. Remember, practice makes perfect, so don’t hesitate to experiment and develop your unique style of creating luxurious furniture images.